Installing Activepieces with docker compose and Traefik for self-hosted automation

I recently started to play with Activepieces to automate things across my services, and I was very impressed by the software, so I decided to share it with you.

What is Activepieces?
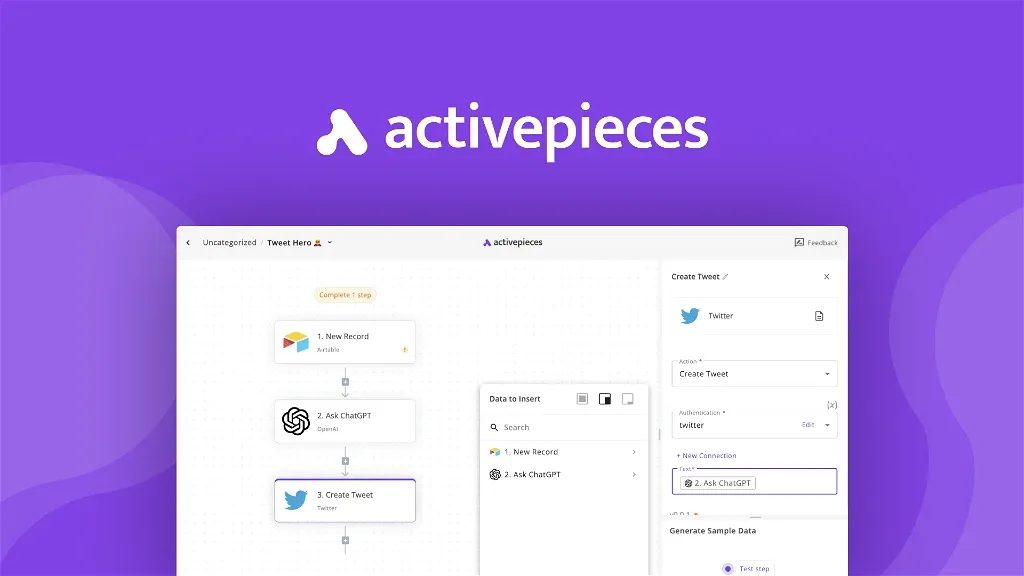
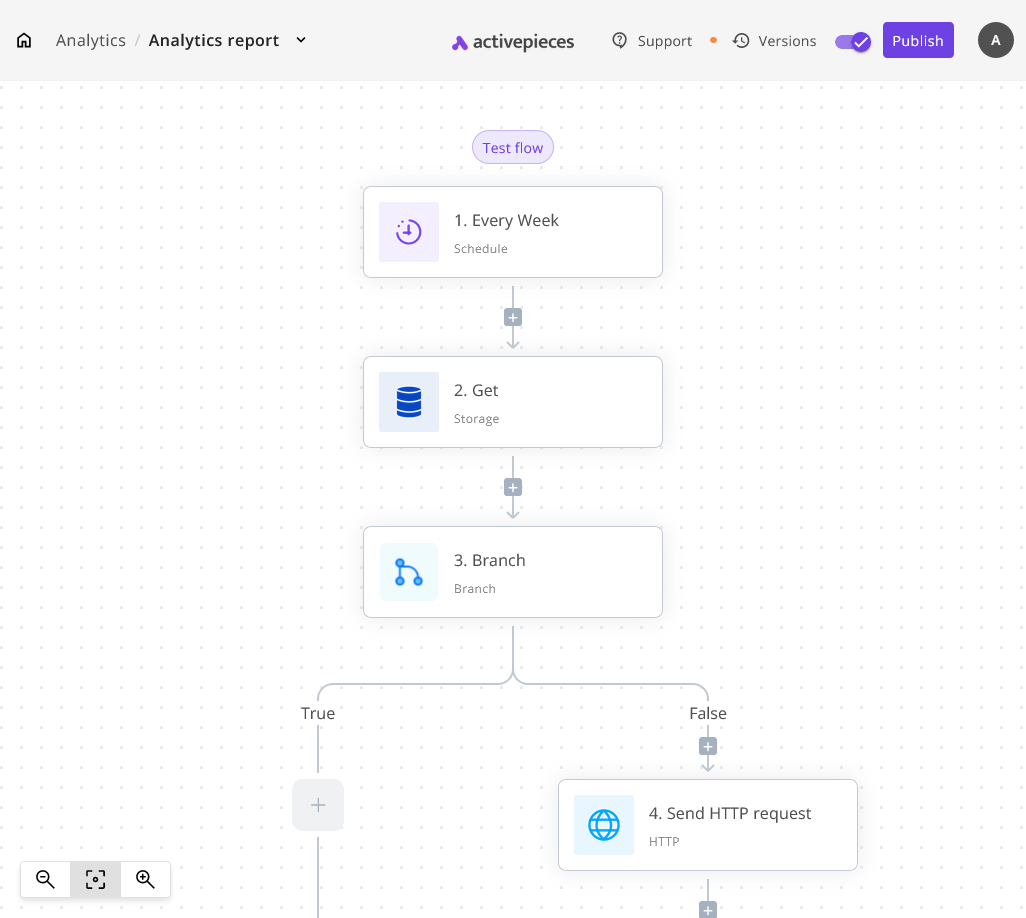
Activepieces is an open-source, self-hostable automation tool that enables users to create custom workflows across various apps and services, enhancing productivity and data control. It can be enjoyed by both tech people and non-tech people who want to enjoy a better way to automate their processes without writing custom code for every flow they have.
What you need
For this project, you'll need a working docker (and docker compose) installations. Compose comes with the latest version of docker pre-installed, so you don't need to install anything apart from docker.
You also need a working traefik installation and for that you can see the guide here https://danielpetrica.com/ghost-blog-migration-how-i-mov/ for a guide.
Activepieces install
To install activepieces we are going to use docker compose.
For active pieces two things are needed, a database and a redis service, with docker compose this are created and configured for us thanks to the docker-compose.yaml file described lower.
In the file you can configure traefik via labels, please exchange pieces.example.com to your domain name.
A good addition to this configuration would be a database backup solution to ensure it keeps your data safe. I wrote an article on it here: https://danielpetrica.com/easy-database-backups-with-docker-compose/
Here is my docker compose file, please change it to your needs:
version: '3.0'
services:
  activepieces:
    image: activepieces/activepieces:0.17.0
    container_name: activepieces
    restart: unless-stopped
    ## Enable the following line if you already use AP_EXECUTION_MODE with SANDBOXED or old activepieces,
    ## checking the breaking change documentation for more info. privileged: true
    #ports:
    #  - '8080:80'
    depends_on:
      - postgres
      - redis
    env_file: .env
    networks:
      - activepieces
      - traefik
    labels:
      - traefik.enable=true
      - traefik.http.routers.activepieces-${NUMBER:-1}.rule=Host(`pieces.example.com`)
      - traefik.http.routers.activepieces-${NUMBER:-1}.entrypoints=websecure
      - traefik.http.routers.activepieces-${NUMBER:-1}.service=activepieces-${NUMBER:-1}
      - traefik.http.routers.activepieces-${NUMBER:-1}.tls.certresolver=cloudflare
      - traefik.http.services.activepieces-${NUMBER:-1}.loadbalancer.server.port=80
    volumes:
        - "/etc/timezone:/etc/timezone:ro"
        - "/etc/localtime:/etc/localtime:ro"

  postgres:
    image: 'postgres:14.10'
    container_name: activepieces_postgres
    restart: unless-stopped
    environment:
      - 'POSTGRES_DB=${AP_POSTGRES_DATABASE}'
      - 'POSTGRES_PASSWORD=${AP_POSTGRES_PASSWORD}'
      - 'POSTGRES_USER=${AP_POSTGRES_USERNAME}'
    volumes:
      - postgres_data:/var/lib/postgresql/data
    networks:
      - activepieces

  redis:
    image: 'redis:7.0.7'
    container_name: activepieces_redis
    restart: unless-stopped
    volumes:
      - 'redis_data:/data'
    networks:
      - activepieces

volumes:
  postgres_data:
  redis_data:
networks:
  activepieces:
  traefik:
    external: true
Once operational, the activepieces software can be configured from the web interface very easily.
The labels are what tells traefik how to configure the software.
Please don't expose the service ports, these are handled by traefik which acts as a proxy to the service. In my case, I use traefik version 3.
Let me know how your installation went in the comments and tell me if you need help