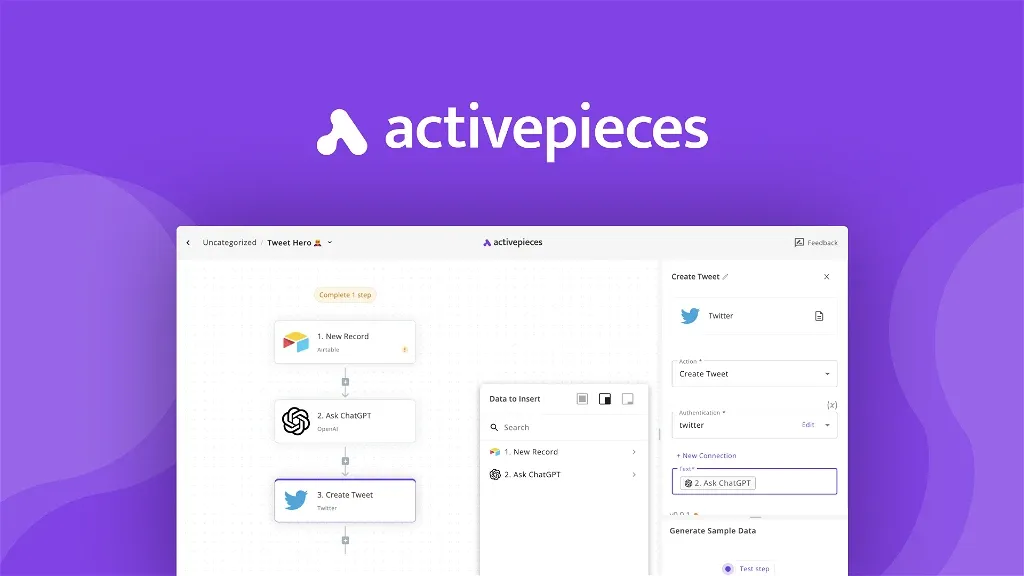
I recently started playing with Activepieces to automate workflows across my services, and I was genuinely impressed by the software. It is a robust, open-source alternative to Zapier that you can host yourself.
In this guide, I will share my "production-ready" setup using Docker Compose and Traefik, ensuring a stable and performant installation.
What is Activepieces?
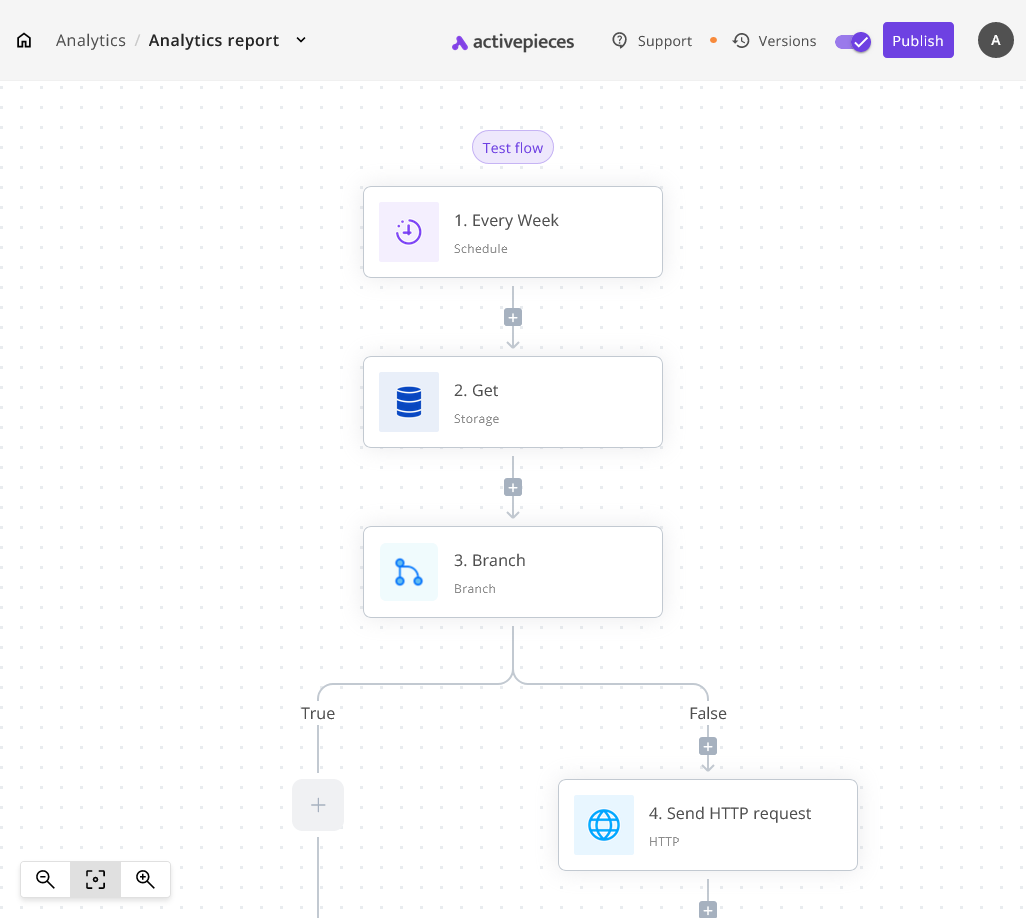
Activepieces is an open-source automation tool that enables you to create custom workflows across various apps and services. It provides the productivity of Zapier with the data control of self-hosting. It is designed for both developers and non-technical users who want to automate processes without writing custom code for every flow.
Want my expertize applied to you company? Contact me
Cloud vs. Self-Hosted: Why switch?
While the cloud version is great for getting started, self-hosting offers significant advantages for power users and privacy-conscious developers.
FeatureCloud VersionSelf-Hosted (Docker)CostSubscription basedFree (Your Infrastructure)Data PrivacyShared Environment100% Private ExecutionsMonthly LimitsUnlimited (Hardware dependent)SetupInstantRequires Docker & TraefikPrerequisites
For this project, you need a server with:
- Docker & Docker Compose: The latest version of Docker Desktop or Engine comes with Compose pre-installed.
- Traefik: You need a working Traefik reverse proxy. If you haven't set one up yet, check my guide here: How I migrated to Ghost with Traefik.
Note on Hardware: Activepieces is lightweight, but for a smooth experience with multiple flows, ensure your VPS has at least 2GB of RAM.
You also need a working traefik installation and for that you can see the guide here https://danielpetrica.com/ghost-blog-migration-how-i-mov/ for a guide.
Do you have an opportunity to send me? Please feel free to send me an email
Step 1: The Environment Configuration
Most installation guides skip this, but it is crucial for security. Create a .env file in the same directory as your docker-compose.yaml. This file will store your sensitive database credentials.
# .env
# Database Credentials
AP_POSTGRES_DATABASE=activepieces
AP_POSTGRES_PASSWORD=CHANGEME_TO_SECURE_PASSWORD
AP_POSTGRES_USERNAME=postgres

# Execution Mode (Performance Tuning)
# Use "UNSANDBOXED" for maximum speed on private servers
# Use "SANDBOXED" if you plan to let others run untrusted code
AP_EXECUTION_MODE=UNSANDBOXED

# Secret Encryption Key (Generate a random string)
AP_ENCRYPTION_KEY=super_secret_key_change_this

# Your Domain (Optional, but good for reference)
DOMAIN_NAME=pieces.example.com
Step 2: The Docker Compose File
Here is the updated configuration for 2025. I have updated the image tag to latest to ensure you aren't stuck on the old version (0.17.0), and refined the Traefik labels for SSL automation.
File: docker-compose.yaml
services:
  activepieces:
    image: activepieces/activepieces:latest
    container_name: activepieces
    restart: unless-stopped
    depends_on:
      - postgres
      - redis
    env_file: .env
    networks:
      - activepieces
      - traefik
    # Performance tuning: Map timezone to ensure schedules run correctly
    volumes:
      - /etc/timezone:/etc/timezone:ro
      - /etc/localtime:/etc/localtime:ro
    labels:
      - "traefik.enable=true"
      # Router Configuration
      - "traefik.http.routers.activepieces.rule=Host(`pieces.example.com`)"
      - "traefik.http.routers.activepieces.entrypoints=websecure"
      - "traefik.http.routers.activepieces.tls.certresolver=cloudflare"
      # Service Configuration
      - "traefik.http.services.activepieces.loadbalancer.server.port=80"

  postgres:
    image: postgres:14-alpine
    container_name: activepieces_postgres
    restart: unless-stopped
    environment:
      - POSTGRES_DB=${AP_POSTGRES_DATABASE}
      - POSTGRES_PASSWORD=${AP_POSTGRES_PASSWORD}
      - POSTGRES_USER=${AP_POSTGRES_USERNAME}
    volumes:
      - postgres_data:/var/lib/postgresql/data
    networks:
      - activepieces

  redis:
    image: redis:7-alpine
    container_name: activepieces_redis
    restart: unless-stopped
    volumes:
      - redis_data:/data
    networks:
      - activepieces

volumes:
  postgres_data:
  redis_data:

networks:
  activepieces:
  traefik:
    external: true
Important Configuration Notes
- Version Tag: I used
activepieces/activepieces:latestto ensure you get the newest features. For production environments, I recommend pinning this to a specific version (e.g.,:0.72.0) once you are stable. - Traefik Labels: Replace
pieces.example.comwith your actual domain. Ensure your DNS records are pointing to your server. - Database Backup: Self-hosting means you are responsible for your data. I highly recommend adding a backup container. You can read my guide on that here: Easy Database Backups with Docker Compose.
Troubleshooting Common Issues
If your installation doesn't work immediately, check these common pitfalls:
- 502 Bad Gateway: This usually means Activepieces hasn't finished starting yet. Run
docker logs activepiecesto see if it's still migrating the database. - Database Connection Errors: Ensure the variables in your
.envfile match thepostgresservice environment variables exactly. - Traefik 404: Verify that the
traefiknetwork is defined asexternal: trueand that your Traefik container is actually connected to that network.
Conclusion
Once operational, you can configure the software directly from the web interface. It allows you to replace paid SaaS subscriptions with your own performant, private automation server.
November 2025 update: I built a performant architecture capable of hosting any code and application. here is my article describing how I self host Laravel (custom application) with this stack read it to discover how you can improve your software: https://danielpetrica.com/a-production-ready-laravel-architecture-with-traefik-and-frankenphp/
Need help with your infrastructure?
Do you have a project in mind? Feel free to send me a message:
Send me a message